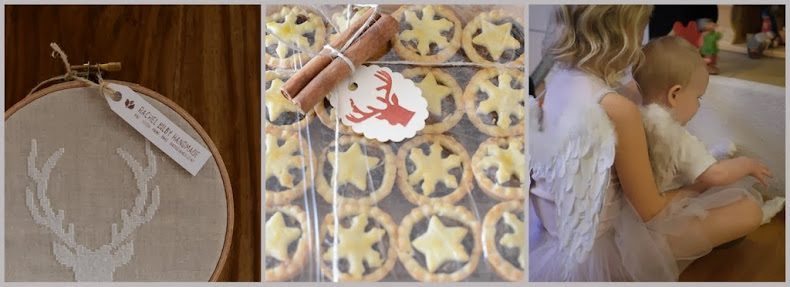
A few sundays ago was the Fasnachtumzug (Fasnacht parade) in my local village. Miss S had a pretty costume on, but as it was freezing outside and she had to wear a big coat, I decided to paint her face.
Which reminded me how much I love face-painting and how there hadn't been any call for it since Halloween!
Fasnacht is a celebration held in the German part of Switzerland as well as parts of Germany and Austria. Its timing is linked to Lent, and it was traditionally a way to "shoo away" the winter and welcome the spring, as well as celebrating before the more sober time of Lent begins. It's a little bit like Halloween in that people really go all out and wear costumes and really get into it.
And speaking of Halloween, I thought I'd share a few pics from last Halloween's Playgroup party, as well as some tips for face-painting.
And speaking of Halloween, I thought I'd share a few pics from last Halloween's Playgroup party, as well as some tips for face-painting.
Harry was a wild cat...
I use the face paints that are a bit like watercolours - you have to mix with water to get them going. (If you're in Switzerland I can really recommend the Migros ones). I've tried the "paste" variety, but I had very little control over the texture (sometimes you really want a very weak, transparent look and some paints aren't particularly water soluble). Besides which, they tend to dry up and become unusable after the first use and crack on the face when dry.
Also, don't rely on the paintbrush and sponges that the paint comes with, I always prefer to bring a selection of good quality (clean and only for the purpose of face-painting) paint brushes from home as well as make-up sponges - those packets of wedges are the best and not too expensive.
Twins Lachlan and Riley wanted to be tigers and both put on a good show!
The best way to paint faces for a group of kids is to get hold of a book (I got mine from Amazon), that has lots of different faces to choose from so the kids can just point to one they like. Occasionally you'll get them asking for something they just really really want, that's not in a book, so you just have to wing it.
Most designs start with a base colour applied with a sponge. If you're painting lots of faces, make sure you have lots and lots of sponges on hand as well as plenty of water and paper towels. After the base, apply the rest of the design and make sure that you apply glitter (if using) straight away so it has something to stick to.
Try and have two "cakes" of white on hand. You need to use white to lighten other colours - this one tends to get a bit messy, but you also need a pure white for other details so it pays to keep these separate.
Miss S, always a willing participant, was a butterfly.
If you don't have time to do whole faces, you can do small pictures or motifs on the cheeks or back of the hands. Try and match the time needed for the face to the age of the child. Under 3's may not want to sit long, whereas older children will be likely to stay still for longer so you can do more.
Master J was 18 months at the time, and could stand still for about 10 seconds, so he got a simple set of whiskers...
And most importantly, have fun with it! I find that most kids love having their faces painted no matter what the result.


No comments:
Post a Comment
Hi,
Thanks so much for your comments - I really appreciate them!